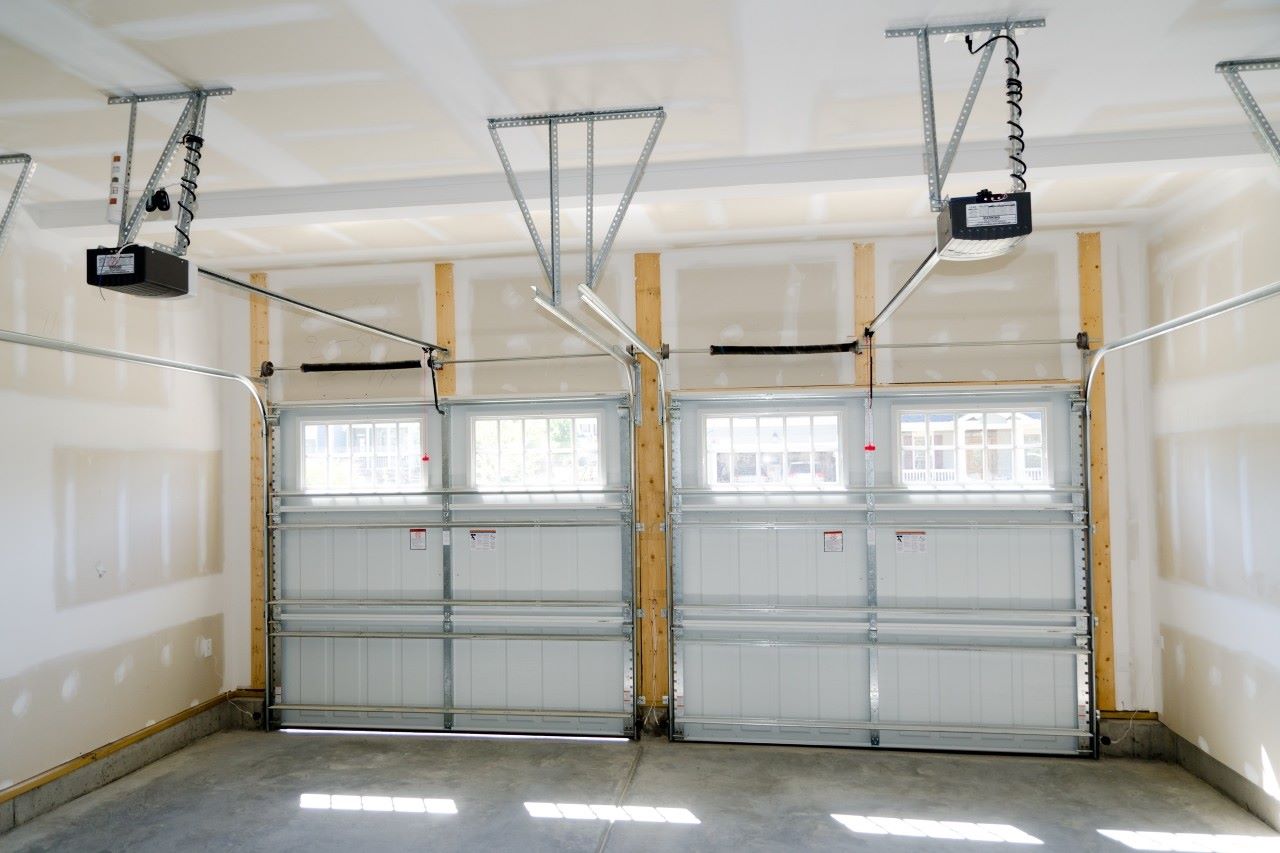
Installing a garage door opener is, therefore, a great investment and practicality that improves the functionality of your garage. Although the process might look rather complex at first, this guide will provide step-by-step instructions for the garage door opener installation from start to finish. Whether you are experienced in DIY projects or a beginner in home maintenance tasks, this guide will be useful.
Why Install a Garage Door Opener?
The primary reason for installing a garage door opener is convenience. With a push of a button, you can easily open and close your garage door, removing the need for manual lifting. Modern garage door openers also come with various security features, enhancing the safety of your home. Furthermore, they contribute to the overall value of your property.
Key Factors to Consider
- Horsepower: Choose an opener with the appropriate horsepower for your garage door’s weight. Heavier doors require more horsepower.
- Battery Backup: Some users prefer an opener with a battery backup for continued operation during power outages.
- Smart Features: Modern openers often come with Wi-Fi connectivity, allowing you to control and monitor the door using a smartphone.
Tools Required for Garage Door Opener Installation
Before you begin, gather the necessary tools and materials:
- Ladder
- Power drill
- Wrench set
- Screwdriver
- Measuring tape
- Level
- Stud finder
- Stepladder
- Socket and ratchet set
- Safety glasses
Step-by-Step Guide to Opener Installation
1. Prepare Your Garage Door and Opener
Start by ensuring your garage door is balanced and in good working condition. Disconnect any existing garage door openers and clear the area for smooth installation.
2. Assemble the Rail
Follow the manufacturer’s instructions to assemble the rail for your opener. Attach the traveler to the rail and connect the rail to the motor unit.
3. Install the Header Bracket
Locate the center point of your garage door and mark it. Attach the header bracket above the door using a stud finder to ensure it is securely placed into the wall studs.
4. Connect the Rail to the Bracket
Lift the assembled rail and connect it to the header bracket. Ensure that it is level before securing it.
5. Install the Motor Unit
Attach the motor unit to the ceiling using a stepladder or a mounting bracket. Again, ensure that the motor unit is level and securely fastened to the ceiling joists.
6. Attach the Door Arms and Bracket
Connect the door arms to the traveler on the rail and the garage door. Adjust the arms’ length so the door can open and close smoothly.
7. Install Safety Sensors
Modern garage door openers come with safety sensors that prevent the door from closing if an object is detected. Install these sensors per the manufacturer’s instructions, typically on either side of the door near the floor.
8. Connect the Opener to a Power Source
Plug your garage door opener into an electrical outlet. If an outlet is not readily available, consider hiring an electrician to install one.
9. Test the Garage Door Opener
Test the opener to ensure that it opens and closes the door smoothly. Make any necessary force and limit settings adjustments per the manufacturer’s instructions.
10. Secure All Components
Once everything is working correctly, secure all components, ensuring that wires are tightly fastened and all screws are properly tightened.
Benefits of Hiring Garage Door Experts MI
While DIY garage door opener installation can be a fulfilling project, there are distinct advantages to hiring garage door experts in Michigan (MI):
Expertise and Experience
Garage door experts MI have the expertise and experience to ensure the installation is done correctly. They are familiar with various garage door and opener models and can address potential issues during installation.
Safety
Professional installers understand the safety protocols needed to avoid accidents. Garage doors are heavy, and mishandling them could lead to serious injury.
Warranty and Support
Hiring professionals often come with a warranty on both the installation and the opener. This provides peace of mind and supports you if anything goes wrong.
Time-Saving
Professionals can complete the job faster and more efficiently. An expert often completes what might take you an entire weekend in a few hours.
Maintenance Tips for Your Garage Door Opener
Regular Inspections
Inspect the opener and the door regularly for wear and tear. Check the cables, springs, and rollers.
Lubrication
Regularly lubricate the moving parts of the garage door opener to ensure smooth operation. Use a silicone-based lubricant.
Test Safety Features
Periodically test the safety sensors and auto-reverse function to ensure they work correctly. Place an object in the door’s path to ensure it reverses upon contact.
Battery Replacement
If your opener has a battery backup, replace the batteries as the manufacturer recommends or when they show signs of wearing down.
Conclusion
Garage door opener installation can be manageable with the right tools and guidance. It improves both the convenience and security of your home. However, consulting garage door experts MI is highly recommended for those who prefer a hassle-free process. They bring expertise, safety, and peace of mind to the installation process, ensuring your garage door opener operates reliably for years.


