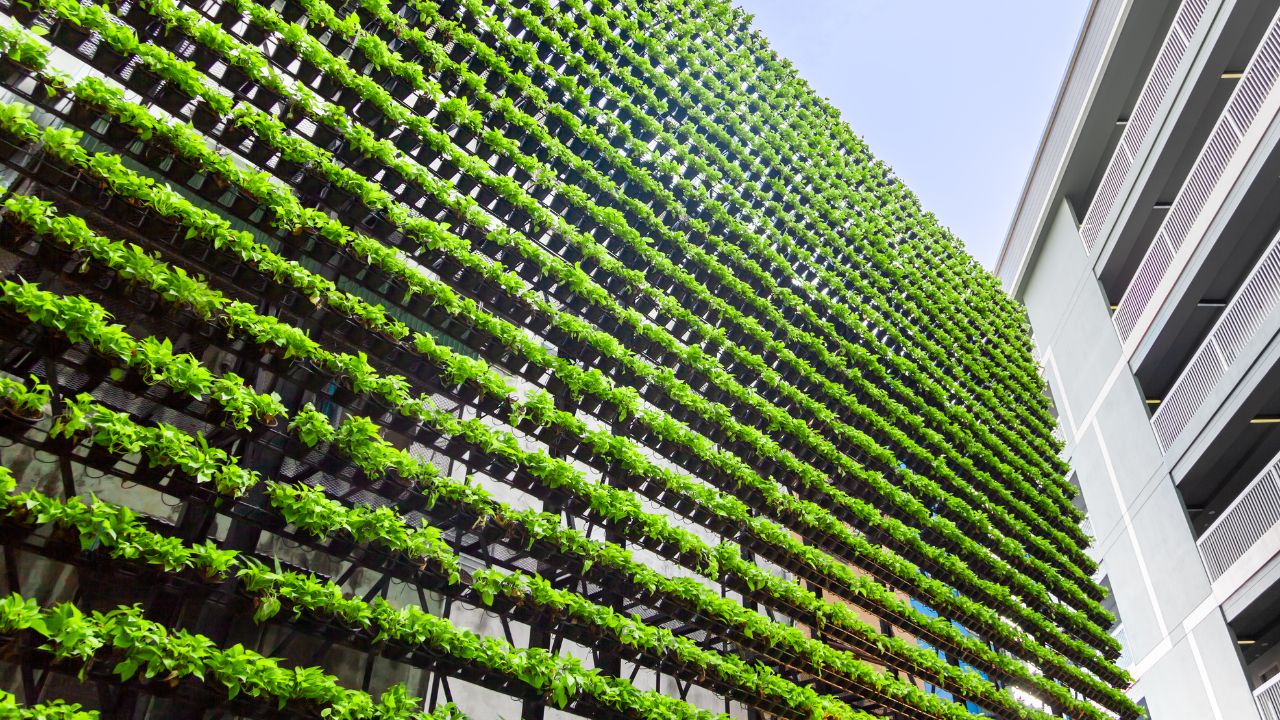
Vertical gardens have gained immense popularity as a space-efficient and visually stunning way to add greenery to homes, offices, and outdoor spaces. Whether you’re using natural plants or opting for an artificial green wall, this step-by-step guide will help you start your journey into vertical gardening. You’ll also learn about essential vertical garden maintenance tips to keep your greenery thriving.
Step 1: Decide on the Type of Vertical Garden
Before starting, determine whether you want a natural vertical garden or an artificial vertical garden installation.
- Natural Vertical Garden: Uses live plants that require regular watering, sunlight, and pruning. It enhances air quality and offers a dynamic, evolving aesthetic.
- Artificial Vertical Garden: Ideal for low-maintenance spaces. These replicate natural greenery, require no watering, and maintain their appearance year-round.
Step 2: Choose the Location
Select the right spot for your vertical garden based on your goals and the available space. Consider factors like:
- Sunlight: For natural plants, ensure the location receives adequate sunlight or is compatible with artificial lighting.
- Wall Strength: For both natural and artificial green wall installations, ensure the wall can support the garden’s weight.
- Purpose: Decide if the garden is decorative, functional (e.g., growing herbs), or a privacy screen.
Step 3: Select the Right Plants
For natural vertical gardens, choose plants suited to your environment:
- Low-light conditions: Ferns, pothos, and philodendrons.
- Bright areas: Succulents, herbs, and flowering plants.
For an artificial vertical garden installation, select panels that mimic the look of natural greenery. You can find options with mixed foliage, flowers, or even faux moss to suit your aesthetic preferences.
Step 4: Install the Framework
The framework forms the backbone of your vertical garden. Here’s how to set it up:
For Natural Gardens
- Mounting: Use brackets or a wooden frame to create a support structure on the wall.
- Irrigation System: Install a drip irrigation system to ensure even watering without manual intervention.
- Planter Boxes or Pockets: Attach modular planters, felt pockets, or hydroponic panels to the framework.
For Artificial Green Walls
- Measure the Space: Take precise measurements to ensure the panels fit perfectly.
- Fix Panels: Use screws, adhesive, or clips to secure the panels. Most panels are lightweight and easy to install.
- Seamless Look: Arrange panels tightly to avoid visible gaps, creating a uniform appearance.
Step 5: Arrange the Plants or Panels
For natural vertical gardens, organize plants based on their sunlight and water needs. Group plants with similar requirements together for easier maintenance. Use trailing plants for a cascading effect.
For artificial installations, plan a mix of foliage textures and colors. Experiment with patterns, such as alternating light and dark green panels, to create visual interest.
Step 6: Add Irrigation (For Natural Gardens)
Efficient watering is crucial for maintaining natural vertical gardens.
- Manual Watering: Suitable for small gardens, but ensure even distribution.
- Automatic Systems: Drip irrigation is ideal for larger setups, ensuring minimal water wastage.
Artificial gardens don’t need irrigation but may require occasional cleaning to remove dust.
Step 7: Secure the Installation
Double-check that all elements are securely fastened. For natural gardens, ensure planters can handle the weight of growing plants and soil. Artificial panels should lay flat against the wall without protruding edges.
Step 8: Vertical Garden Maintenance
Natural Vertical Gardens
- Watering: Maintain a consistent watering schedule based on the plants’ needs.
- Pruning: Trim overgrown plants to retain the garden’s structure.
- Fertilizing: Use water-soluble fertilizers every 4–6 weeks for healthy growth.
- Pest Control: Inspect for pests like aphids and apply organic remedies if needed.
Artificial Green Walls
- Cleaning: Wipe down with a damp cloth to remove dust and keep the greenery looking fresh.
- UV Protection: If installed outdoors, ensure panels are UV-treated to prevent fading.
- Replacements: Periodically check for damaged panels and replace as needed.
Step 9: Customize and Enhance
Personalize your vertical garden with additional elements:
- Lighting: Use LED grow lights for natural plants or ambient lighting for artificial setups.
- Decorative Additions: Incorporate small decorative items like mirrors, fairy lights, or signs.
- Functional Elements: In natural gardens, add hooks for hanging tools or planters for herbs.
Step 10: Enjoy Your Vertical Garden
Step back and admire your work! Your vertical garden not only transforms the space aesthetically but also contributes to cleaner air and improved ambiance if natural.
Bonus Tips for Success
- Start Small: Beginners should opt for a small vertical garden to learn the ropes before scaling up.
- Use Modular Systems: Both natural and artificial gardens benefit from modular setups that are easier to expand and customize.
- Seek Professional Help: For larger installations, especially artificial green wall installation, consult professionals for a seamless and durable setup.
A well installed vertical garden can breathe life into any space, whether indoors or outdoors. By following these steps, you’ll create a stunning green feature while mastering the essentials of vertical garden maintenance. Ready to start your vertical gardening journey? Explore top-rated natural and artificial garden systems today!
Read Also- What Are the Must-Have Twin Baby Accessories and Twin Baby Outfits for Your Little Ones?


