How To Create A Custom Embroidery Design
Do you love embroidery and want to make your own designs? It’s a fun and creative process that lets you add a personal touch to clothes, accessories, and home decor. In this blog post, we’ll walk you through the steps of making custom embroidery designs. We’ll use the term embroidery digitizing to refer to turning an image into an embroidery pattern. By the end, you’ll be ready to create your own beautiful designs!
if you want to promote your hosiery business custom hosiery rigid packaging boxes if one of the best things to promote your business.
Choosing Your Design
First, you need to decide what you want your design to look like. This part is all about your ideas and inspiration. Here are some tips to help you choose:
- Think About What You Love: Start with something you love, like a favorite flower, animal, or a special symbol. If you have a drawing or a photo you like, that can be your starting point.
- Find Digital Images: If you have a drawing on paper, you’ll need to turn it into a digital image. You can scan it with a scanner or take a photo with your phone. Make sure the image is clear and bright.
Digitizing The Design
Next, it’s time for embroidery digitizing. This means turning your digital image into a file that an embroidery machine can read and stitch.
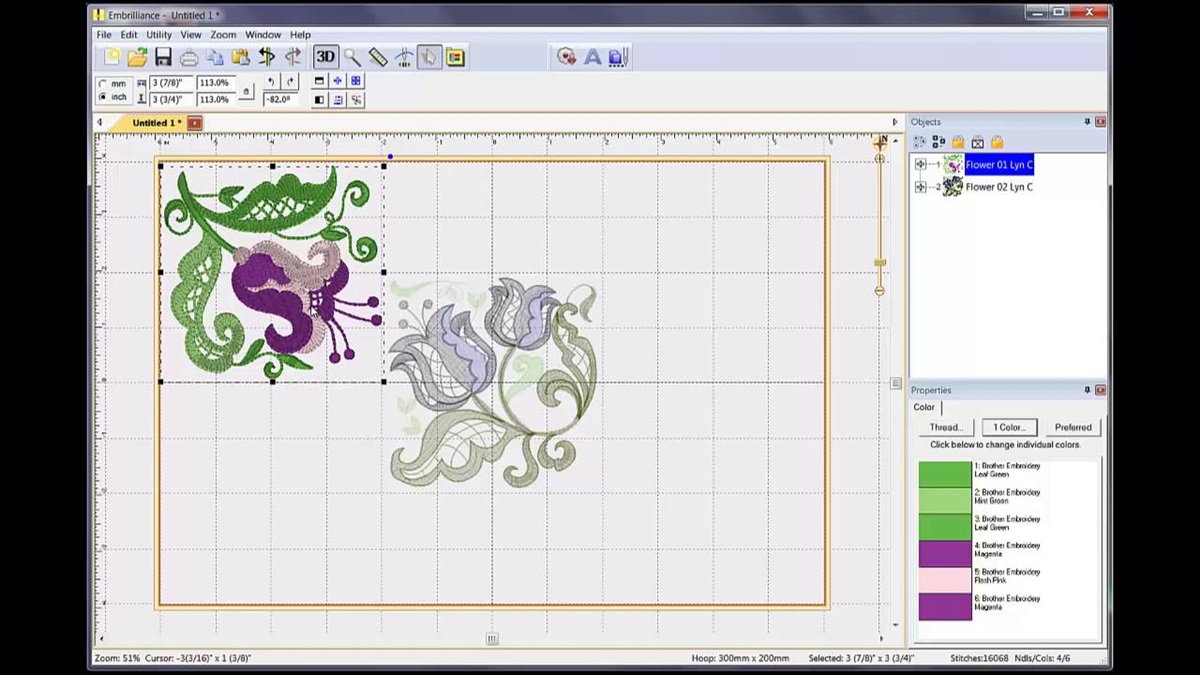
- Use Embroidery Software: There are special programs for this, like Wilcom, Hatch, and Brother PE-Design. These programs help you turn your image into stitches. They are easy to use and great for beginners.
- Vectorization: This step is about making sure your image is clear and smooth. Sometimes, you need to turn your image into a vector. A vector image uses lines and shapes to create a picture, making it easy to adjust. You can use software like Adobe Illustrator for this.
- Manual Digitizing: Now, you need to adjust your image by hand. This is where you decide what kinds of stitches to use. There are different types of stitches, like satin, fill, and run. You will also choose the direction and density of the stitches. This part takes practice, but it’s a lot of fun!
Refining The Design
Once you have your basic design, it’s time to make it perfect. This step is all about checking and fixing details so your design looks great when embroidered. Here’s what you should do:
- Adjust Stitches: Look at your design closely. Are the stitches the right length? Make sure they’re not too short or too long. Also, check if the stitches are packed together just right—not too dense and not too sparse. The way stitches are placed affects how your design will look when it’s embroidered.
- Test Runs: Before you finish your design, do a test run. Embroider your design on a piece of fabric similar to what you’ll use for your final project. This test run helps you spot any problems. You might notice things you need to fix or change. For example, maybe some parts look too crowded or not clear enough. Make adjustments to your design based on what you see in the test run.
Saving And Exporting
When you’re happy with your design, it’s time to save it. Here’s how:
- File Formats: Save your design in the format your embroidery machine uses. Common formats are .dst, .pes, and .exp. Make sure you choose the right one for your machine.
- Backup: Always keep a backup of your original design file. This way, if anything goes wrong, you won’t lose your work.
Embroidering Your Design
Now it’s time for the exciting part – embroidering your design! Follow these steps:
- Prepare Your Machine: Load your design file onto your embroidery machine. Make sure your machine is ready to go.
- Hooping: Place your fabric in the embroidery hoop. Make sure it’s tight and smooth. Proper hooping is important for a good result.
- Start Embroidering: Start the machine and watch it work! Keep an eye on the process to make sure everything goes smoothly.
Tips For Success
Creating custom embroidery designs is a fun skill, but it takes practice. Here are some tips to help you get started and improve:
- Practice Makes Perfect: Start with simple designs. Once you’re comfortable, you can try more complicated ones.
- Use Learning Resources: There are many tutorials and online courses that can teach you how to digitize embroidery. Check these out to get better at it.
- Join a Community: Look for embroidery forums and groups online. You can share your designs, ask for advice, and learn from others who have experience.
- Experiment: Don’t be afraid to try new techniques and designs. Sometimes making mistakes is the best way to learn.
- Be Patient: Learning a new skill takes time. Keep practicing, and you’ll improve.
- Get the Right Tools: Make sure you have good software and equipment for digitizing. The right tools can make your work easier and more enjoyable.
- Stay Inspired: Look at other embroidery designs for inspiration. It can give you new ideas and help you stay motivated.
Conclusion
Making custom digitized embroidery designs is a fun and rewarding hobby. With some practice and patience, you can create beautiful designs that are all your own. Remember, start with a design you love, use the right software for embroidery digitizing, refine your design carefully, and practice often. Soon, you’ll be making machine embroidery designs that are truly special. Happy embroidering! Also read more:


