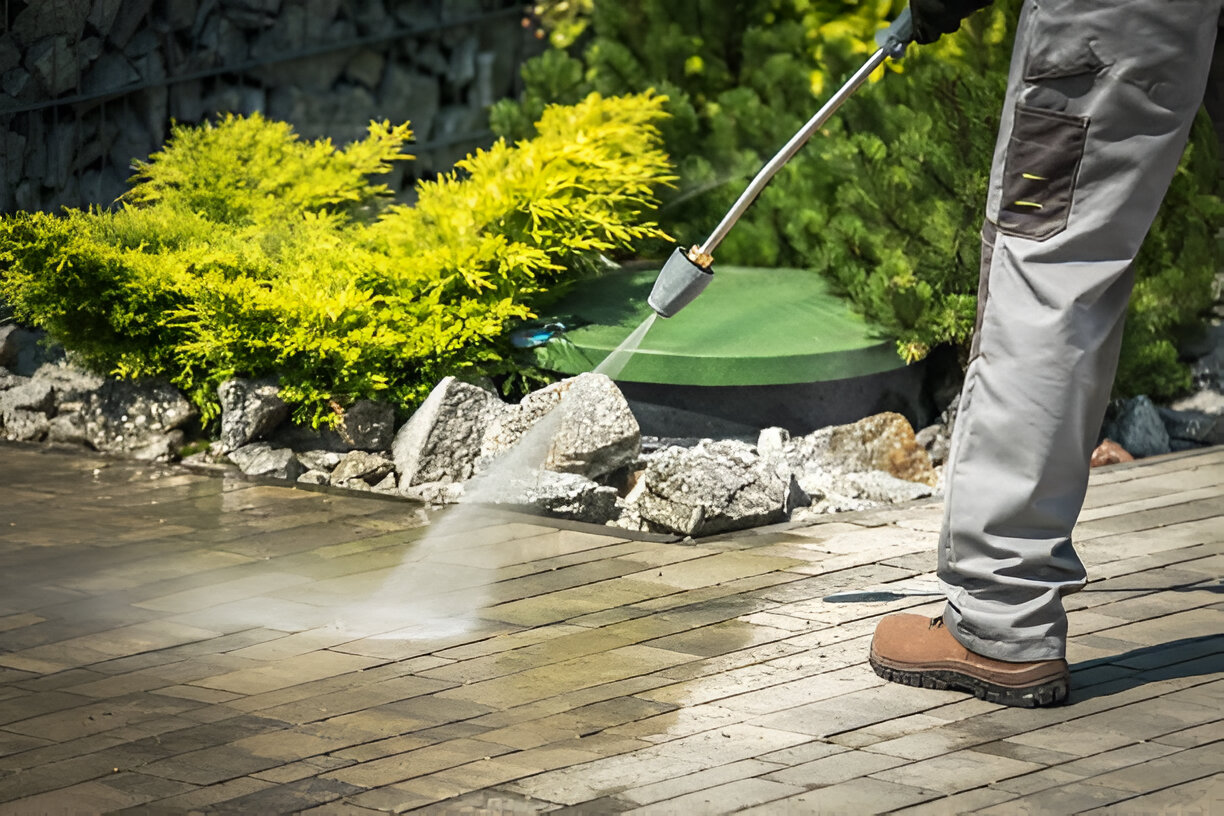
Power washing is an effective way to clean driveways and prepare them for sealing. However, the process of sealing a driveway after power washing involves several important steps to ensure long-lasting protection and aesthetics. In this comprehensive guide, we’ll explore the process in detail, from preparation to application and maintenance.
1. Preparation Before Power Washing
Assess the Driveway Condition
Before power washing, inspect your driveway for any cracks, holes, or other damage. Address these issues with appropriate repair materials. Cracks and holes should be filled with a concrete or asphalt repair compound, depending on the material of your driveway.
Choose the Right Power Washer
Select a power washer with adequate pressure (typically 2500-3000 PSI) for the job. A higher PSI might be necessary for stubborn stains or built-up grime, but be cautious not to damage the surface.
Gather Necessary Tools and Materials
You’ll need:
- A power washer
- A cleaning solution suitable for your driveway type
- A stiff-bristled brush or broom
- A garden hose
- Safety gear (gloves, goggles, and mask)
2. Power Washing the Driveway
Pre-Wet the Surface
Before applying any cleaning solution, pre-wet the driveway with a garden hose. This helps to loosen dirt and debris and prevents the cleaner from drying too quickly.
Apply Cleaning Solution
Apply a driveway cleaning solution that is suitable for your surface type. For concrete driveways, a solution with bleach or an oxygen bleach-based cleaner can work effectively. For asphalt driveways, use a degreasing cleaner designed for asphalt surfaces.
Scrub the Driveway
Use a stiff-bristled brush or broom to scrub the cleaning solution into the surface, focusing on stained or heavily soiled areas. This step ensures that the cleaner penetrates and breaks down grime and oil.
Power Wash the Driveway
Using the power washer, start at one end of the driveway and work your way across. Maintain a consistent distance from the surface to avoid damage, and use overlapping strokes to ensure thorough cleaning. Rinse off the cleaning solution and debris thoroughly.
Allow the Driveway to Dry
After power washing, let the driveway dry completely before proceeding. This can take anywhere from 24 to 48 hours, depending on weather conditions and the type of surface. Ensure there is no standing water or moisture before sealing.
3. Sealing the Driveway
Choose the Right Sealer
Select a sealer that is compatible with your driveway material. For concrete driveways, a penetrating or film-forming sealer works well. For asphalt driveways, use an asphalt-based sealer. Consider factors such as climate, traffic, and aesthetic preferences when choosing a sealer.
Prepare the Sealer
Follow the manufacturer’s instructions for mixing or diluting the sealer. Some sealers may require stirring or shaking to ensure an even consistency. If the sealer is premixed, ensure it’s well-blended before application.
Apply the Sealer
Tools for Application
You can apply the sealer using a roller, brush, or sprayer. For large driveways, a sprayer can cover the area more quickly and evenly. For smaller or detailed areas, a roller or brush may be more suitable.
Application Process
- Edge the Driveway: Use a brush to apply sealer along the edges of the driveway and around any obstacles. This ensures that these areas are covered completely.
- Apply the Sealer: Start applying the sealer from one end of the driveway and work your way to the other end. Apply the sealer in even, overlapping strokes to avoid streaks and ensure full coverage.
- Follow Instructions: Adhere to the manufacturer’s recommended application rate and thickness. Over-application can lead to problems such as peeling or bubbling.
Allow the Sealer to Dry
After applying the sealer, allow it to dry completely according to the manufacturer’s instructions. This typically takes 24 to 48 hours. During this drying period, avoid driving or walking on the surface to ensure a smooth and durable finish.
4. Post-Sealing Care
Regular Maintenance
To prolong the life of your driveway seal, perform regular maintenance. Sweep the driveway frequently to remove debris and dirt. Clean spills and stains promptly to prevent damage to the sealer.
Re-Sealing Schedule
Driveways should be re-sealed every 2 to 3 years, or as recommended by the sealer manufacturer. Factors such as climate, traffic, and surface wear can influence the frequency of re-sealing.
Inspect and Repair
Regularly inspect your driveway for signs of wear or damage. Promptly address any issues such as cracks or peeling to maintain the integrity of the sealer and the driveway surface.
5. Troubleshooting Common Issues
Peeling or Bubbling
If you notice peeling or bubbling in the sealed surface, it may be due to improper application or moisture trapped under the sealer. Ensure that the driveway was completely dry before application and that the sealer was applied according to instructions.
Discoloration
Discoloration can occur due to various factors, including uneven application or exposure to harsh chemicals. If discoloration is severe, you may need to strip the old sealer and reapply a new coat.
Streaking
Streaks can result from uneven application or application during unfavorable weather conditions. Ensure a consistent application and choose appropriate weather conditions for sealing.
Conclusion
Sealing a driveway after power washing is a crucial step in maintaining the appearance and durability of your driveway. By following the proper preparation, application, and maintenance steps, you can ensure a long-lasting and attractive finish. Regular care and timely re-sealing will keep your driveway in excellent condition for years to come. Whether you’re a DIY enthusiast or planning to hire a professional, understanding the process will help you achieve the best results and protect your investment.


