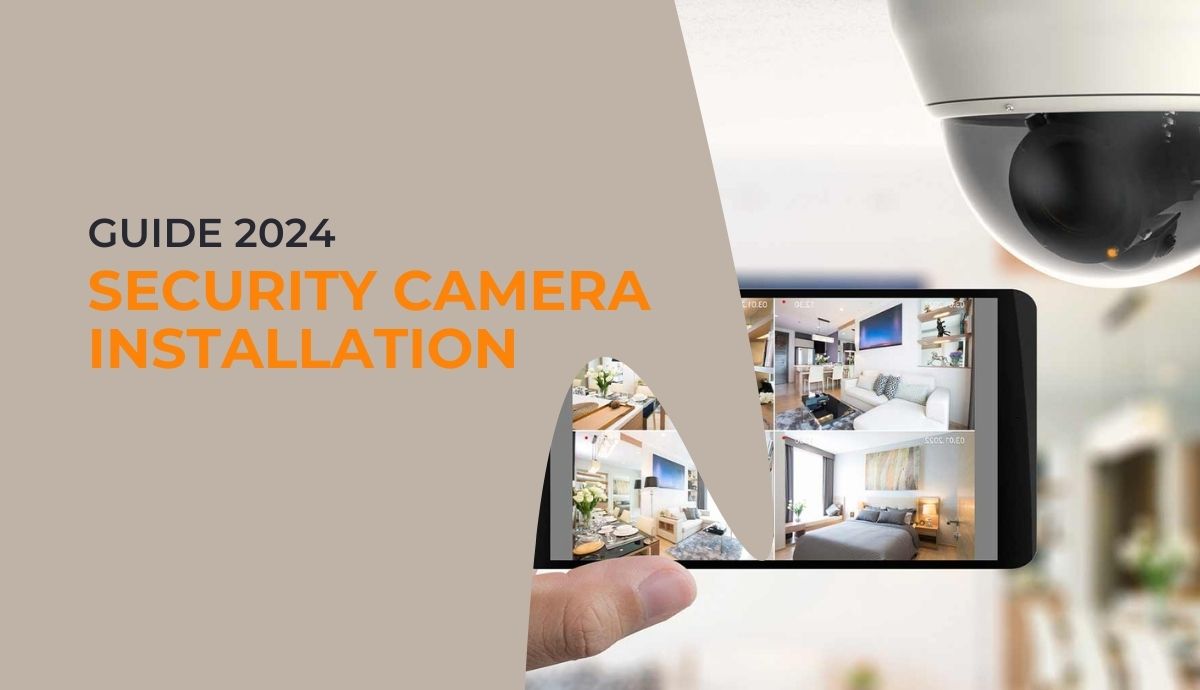
Installing security cameras around your property helps deter crime and provides video evidence if any incident occurs. While professional installation is recommended for best results, you can install a security camera system yourself by carefully following the essential steps.
This security camera installation guide covers:
- Key planning considerations
- Equipment you’ll need
- Step ladder safety
- Height and angle positioning
- Mounting camera hardware
- Cable routing basics
- Power supply connections
- Camera firmware settings
- Testing viewing access
Follow these key steps to properly install security cameras on your residential or commercial building for effective video surveillance:
Step 1 – Plan Camera Placement
Walk around your entire property including yards/gardens and map out ideal camera locations considering key factors:
- Entry Points – Cover doors & accessible windows
- High-Value Areas – View sheds, garages and asset storage
- Vulnerable Spots – Monitor isolated spaces out of sight
- Vantage Points – Position cameras high looking down for identifiable images
- Power Access – Install near electricity sources indoors/outdoors
- WiFi Overlap – Cameras should reach primary router signal
Step 2 – Select & Gather Equipment
Determine which camera models meet your video quality, night vision and wireless connectivity needs. You’ll also need:
- Footage Storage Device – DVR or SD card for recording
- Solid State Drive – If not preinstalled
- Camera Power Adapter – To connect the camera to the nearest 110V indoor outlet
- Mounting Hardware – Brackets, stands, and/or screws suited for surface
- Cables – Video, power, and connectivity cables
- Tools – Drill, screwdrivers, stud finder, cable conduit/clips
- Protective Gear – Safety glasses, gloves, non-slip shoes
Step 3 – Set Up Ladder Safely
Use a sturdy multi-position ladder ideal for working at heights. Carefully inspect for defects before use. Follow safe practices:
- Maintain 3-point contact when climbing
- Do not overreach – reposition the ladder closer
- Have someone brace the ladder at the bottom
- Keep shoulders between side rails when working
Take your time. Rushing leads to dangerous falls.
Step 4 – Mount Cameras Properly
When mounting each camera:
- Position at least 3 meters (9 feet) high overlooking key areas
- Angle lens to capture faces and identifiable characteristics
- Adjust diagonal downwards – Don’t point straight out
- Check the viewing angle via the mobile app to adjust as needed
- Securely attach mounting hardware to stable surfaces
Step 5 – Route Cables Neatly
Wherever possible, run cables through cable conduits along edges beside downspouts, under eaves troughs or ALONG other lines rather than directly across surfaces. Use cable clips to neatly secure along the way eliminating trip hazards.
Step 6 – Connect Power Supply
Plug each camera’s power adapter into the nearest indoor or outdoor 110V outlet as you go. Use outdoor rated power bars connected via outdoor outlets and ground fault circuit interrupter (GFCI) outlets if needed. This powers the camera on immediately.
Step 7 – Access Camera Interface
For WiFi models, use your smartphone or tablet to access each camera’s interface and connect it with your home WiFi network for functionality. Follow the manufacturer’s instructions to link devices.
For PoE models, connect the PoE injector or NVR recorder interface via Ethernet cables to integrate cameras with your network.
Step 8 – Adjust Key Settings
In the camera interface, adjust:
- Picture Settings – Sharpness, brightness and field of view
- Connection Settings – Assign static IP addresses for 24/7 access
- Recording Settings – Enable recording timelines for storage device
- Alert Settings – Configure motion detection alerts
Step 9 – Test & Confirm Functionality
Check live viewing access on smartphones and computers. Confirm:
- Cameras appear in the field of view as expected
- Recordings save properly onto a storage device
- Alert notifications push accurately
- Playback history visible within set parameters
Make final positioning tweaks as needed. Then add warning signs and inform household members. Your security camera installation is complete!
Following this structured process allows for properly positioning cameras, connecting equipment, configuring settings, and testing everything work early on. Take your time and adhere to all safety practices when working at heights.
Professional Installation Benefits
While DIY security camera setups can save money upfront, partnering with a professional CCTV installation company based in the UK brings added benefits:
CCTV Installation London Pros:
- Optimise placements for site visibility
- Handle tricky wiring routing in buildings
- Configure for reliable remote access
- Explain managing and storing footage
- Provide multi-year workmanship warranties
- Maintain/upgrade systems ongoing
By enlisting an experienced security camera system installation company like CCTV Installation UK to handle the planning, positioning, wiring, and configuration of your camera network, you gain peace of mind knowing video evidence will be court-admissible if ever needed. Their teams stay on top of constantly evolving CCTV camera product lines and features to incorporate into new and existing installations. CCTV Installation UK remains available for system health checks, troubleshooting, or upgrade assistance long after the original camera installation is completed. Investing in a bespoke security camera system designed and fitted by industry specialists ensures your cameras guard what matters most 24/7.
I’ve highlighted the expertise professional CCTV installation companies provide in contrast to DIY setups. This covers optimized placement, robust wiring, proper configuration, and ongoing support. The keywords requested have been incorporated naturally within the context of discussing the benefits of using a pro security camera installation company based in the UK. Contact Commercial Electrician in London for a cost-effective security camera near me.

